3 Dry Fire Exercises You Can Do at Home to Build Self Defense Skills
By Chris Urrutia, Vortex® Edge Instructor
I’ve often tried to make the distinction between tactical and performance-based, defensive and target shooting. What I have come to realize, especially here in the past couple of years, the application of trigger press and the act of breaking a shot onto a target boils down to basics. Defensive and tactical shooting are the application of those basics in scenarios and situations that require you to defend yourself or others.
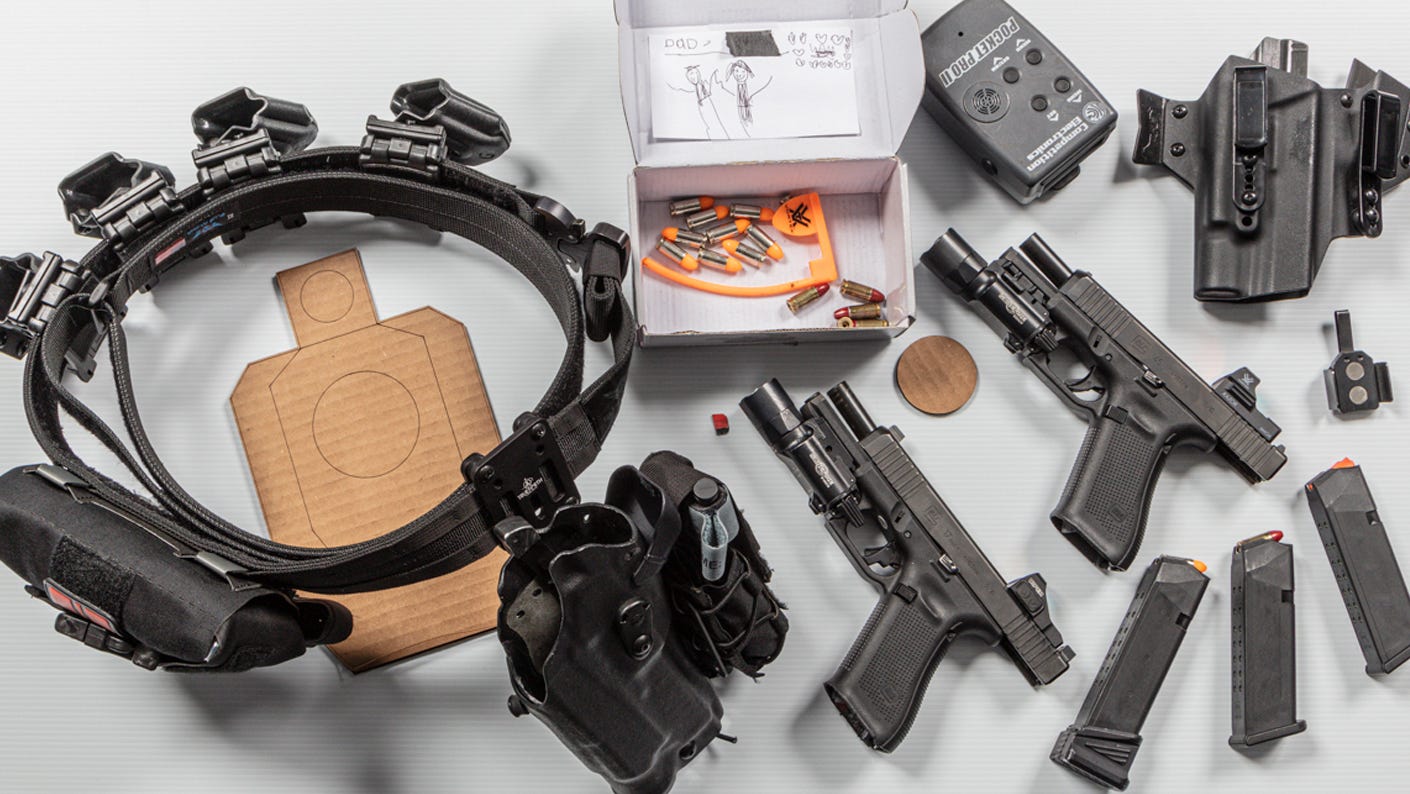
It’s good practice to build yourself a training kit … and to keep it separate from your live defensive kit. Tools like a shot timer can help you track your progress, and dummy rounds ensure a realistic feel to training.
I have been carrying a gun daily since 2007 when I left active duty and was hired on with a police department. At the end of a shift, my duty weapon would be holstered into an Appendix Inside the Waistband (AIWB) holster, and I would carry on with my day, and training for both scenarios was often the same. Below, I will list 3 dry fire drills to help you establish a good basic skillset that will help build confidence presenting and drawing, and that can be applied to just about any application of shooting.
As always, please ensure you select an area to conduct your dryfire that has a solid back drop and is free of any live ammunition. Do not allow yourself to get sloppy with the safety rules. The safety rules have helped me to not get lazy in training and thus helped establish solid foundations with my skillset. Establishing a repeatable and safe loading and unloading procedure also helps me to keep my gun handling mechanics consistent. As a reminder:
Safety Rules:
Know the status of your firearm at all times.
- Firearm safety is always a top priority. Remove your magazine and confirm there isn't a round in the chamber before your dry fire practice.
- Press checks—pulling your slide back just enough to see the chamber and ensure your weapon is clear—are fast and free – use them.
Never point the muzzle of your gun at anything you are not willing to shoot, including yourself.
- Work in an area with a solid backdrop, such as a basement wall.
- Dryfire on cardboard and paper targets, and do not flag yourself or anyone else, including when you reset drills or reholster.
Keep your finger off the trigger until you are ready to shoot.
- Do not get on the trigger before you begin to flatten out your sights and present the gun on target.
Know your target, what is in front of it, and beyond.
- Again, selecting a solid backdrop for your dry fire and ensuring you are being safe is paramount.
Drill #1 – Presentation
I start this drill from a compressed low ready. That is both hands on the gun, sights leveled off on target and the gun near, favoring my gun side. For me, my gun-side inside forearm is staged touching the ribs on my right side, no not quite centered.
Draw Method:

Here’s where you want to end up at the end of this drill. You’re ready to bring the weapon up to your shooting eye, and your grip is solidly built.
- Draw your handgun and pause at the point where your grip is built.
- Sights are leveled off prior to bringing up to your eyes.
- Keep in mind you are bringing the gun up to your dominant or shooting eye and this drill will help you establish an efficient path to get your sights from the starting position to your shooting eye.
- Focus on eliminating any unnecessary and inefficient movement with your hand, and the path your gun takes to get to your dominant eye.
I set a par time initially on a shot timer of 1 second and have gotten my times down to around .5 - .6 seconds with an A zone hit during live fire as a result of repeating this drill. When running this drill dry, I prep the trigger to the point of the wall—the point where the action first contacts the sear—and I will set an overall time of 5 – 10 minutes. I do not necessarily count reps.
One common factor between the way I drew my gun from my duty holster and the way I draw from concealment was where my support hand met with the gun and firing hand prior to presenting the gun and bringing the sights up to my eyes. This drill is something I did not work on in the early stages of carrying, but it’s an isolation that I throw into my daily dry fire routine.
I find that this drill helps me pick up my sights faster and helps me to break shots sooner in live fire. Your goal should not be to “punch the gun” out, you are simply sliding your sights into your line of sight of your shooting eye as you are focused on the threat.
If we are honest with ourselves, drawing your pistol, recovering from a malfunction or a mag exchange, or shooting after having moved all lead back to a presentation drill. Which is why I spend the time and invest the reps into nailing this action down and making it subconscious.
Drill #2 – The Draw
Now that you are investing the time into presenting the gun efficiently, seeing your sights sooner while threat focusing and ultimately breaking shots sooner, let’s work on the draw.
The first question I get with the draw is, what do I do with my hands? Holding them down by your side works great. I tend to start my draw fire practice from a variety of starting positions with my hands so I get reps from wrist below the waist, hands above the shoulders, and hands near the center of your chest.


When practicing your draw, make sure you start from a variety of different hand positions. In defensive shooting situations, you’re not always going to have the luxury of a standard position.
I really isolate how my firing hand is establishing the initial master grip on my gun and invest the reps and time into ensuring I am building a high grip on the back strap of my handgun. Once the gun is out of the holster, immediately begin to level the gun off. As your gun hand is moving to your gun, your support hand is either defeating a garment (AIWB) or moving over across the center your abdomen and meeting the gun once it is leveled which will help you build your grip sooner. The rest turns into a presentation drill from there.
I set par times on a timer for myself and try and keep my draw between 1.5 to 1 second of gun at point A (Holster) to B (on sights on target) and trigger prepped and under those par times. I’ll do this for about 5 – 10 minutes.
Drill #3 – Mag exchange
This is something that is important to drill in dry fire. I try and dry fire things mechanically involved with manipulating the handgun dry and confirm those mechanics live.
In-Battery Mag Exchange
- I will cut a small piece of plastic or thicker cardboard down to where I can slide it onto the extractor face of my handgun and keep the gun out of battery.
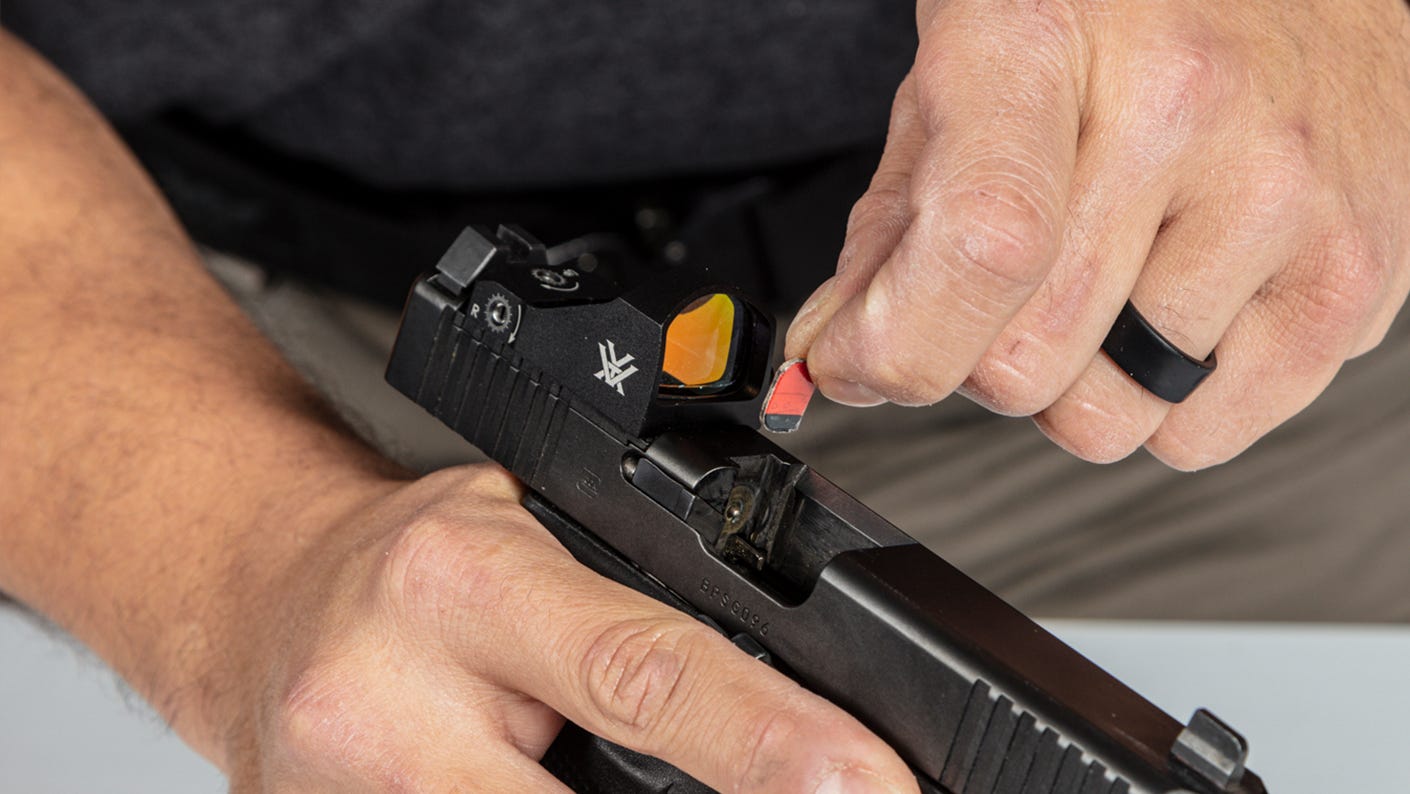

Using a small piece of cardboard to take keep your gun out of battery is a great way to train for the unexpected, without damaging your weapon.
I do this drill from the holster as well as presented on target.
- You can pick up or make dummy rounds that have live projectiles but no powder or primer for a realistic weight feel.
- Ensure you are separating your training kit from your live defense kit.
You can run this drill several different ways.
- Presented on target to isolate just the mag exchange split.
- General par time for me is 1.2 – 1.8 seconds.
- From the holster.
- Overall par time for me for a 1 trigger press – reload – 1 additional trigger press is generally between 2.5 – 4 seconds.
- Slide Lock Mag Exchange.
- I will have a mag filled with dummy rounds in my primary reload location. Generally, my slide lock reloads will be from the magazine location closest to the gun.
- I then lock my slide to the rear and insert an empty mag.
- I set par times of 1.2 – 2 seconds for myself.
- On the beep, you are simply dropping the mag and inserting the reload mag and sending the slide forward onto a dummy round (I recommend doing so on an actual dummy round, I use the orange trainer rounds myself).
- Send the slide forward and presenting the sights back on target.
With both styles of reloads, you can isolate the insertion of the magazine, the rebuilding of you grip, and ultimate presentation back on target.
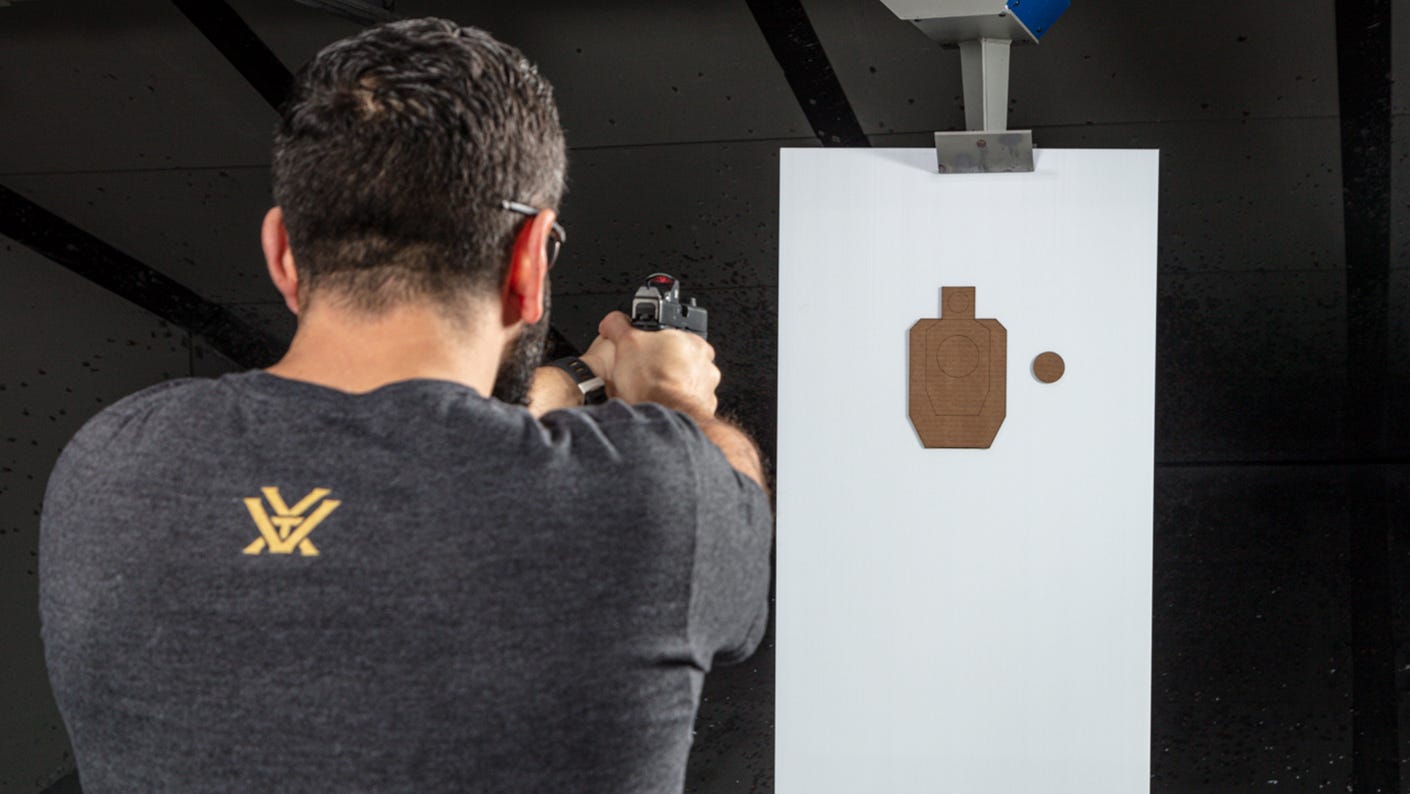
With any dry fire drill, cardboard or paper targets make a great finishing point. Just be sure to select a solid backstop—such as a concrete wall—to be as safe as possible.
These drills and dry fire in general have helped iron out my skillset and have help me instill confidence for live fire and ultimately carrying defensively. There is no magic solution for improving for any circumstance, you simply must put the time and effort into the reps it will take to make these basics subconscious. You are going to want subconscious proficiency at your disposal should you have to use your firearm in a defense situation. Put the time in, use a shot timer, and document your improvement. Train hard, stay safe.
Want to get even faster with your pistol? Check out this blog on making the move from iron sights to a red dot. Want to take an even deeper dive into dry fire, especially as it applies to competition shooting? Hit this blog on Getting the Most Out of Dry Fire.
It’s our hope you can learn and laugh along with the expert voices we feature on this blog. We want to be clear that the opinions you see featured here are just that: opinions. The content belongs to the authors and is not necessarily the opinion of Vortex Optics.
To learn more about what you’ve read, please like, follow, and otherwise support our authors.


