How to control hemorrhaging in the field
While there’s nothing better than getting out into the wilderness on a hunt, a medical emergency can ruin it all in the blink of an eye. Whether it’s a fall from a treestand or an attack by a grizzly, you need to have a few basic skills mastered to increase your chances of making it out alive.

These skills are also directly transferable to day-to-day life, from the threat of active shooters to vehicle accidents. You never know when you may need it, but being prepared and equipped to treat life-threatening bleeding can save a life.
Lessons learned from the military have taught us that a couple of skills can quickly and effectively treat life-threatening bleeding – use of a tourniquet, hemostatic use and the pressure dressing. Congress mandated that every single member of the military must learn these skills (Tactical Combat Casualty Care – TC3) and carry these basic tools (Individual First Aid Kit-IFAK) on them whenever deployed, so why head out into the wilderness without them?
With hemorrhage control, time is of the essence. With an artery bleed, seconds to minutes can be the difference between life and death. The goal is to keep as much blood inside the body as possible, and every drop counts!
While it isn’t always easy to tell arterial vs. venous bleeding, arterial bleeding typically will be bright red, spurt, and lead to rapid pooling of blood around the wound. Venous bleeding will tend to be darker blood, bleeding is a lower steadier flow and control can be more easily attained, it can be deadly as well so treat all bleeding AS FAST AS POSSIBLE.
The three techniques below are simple and effective ways to stop major bleeding from extremities and the intersection of extremities and your torso (called junctional wounds).
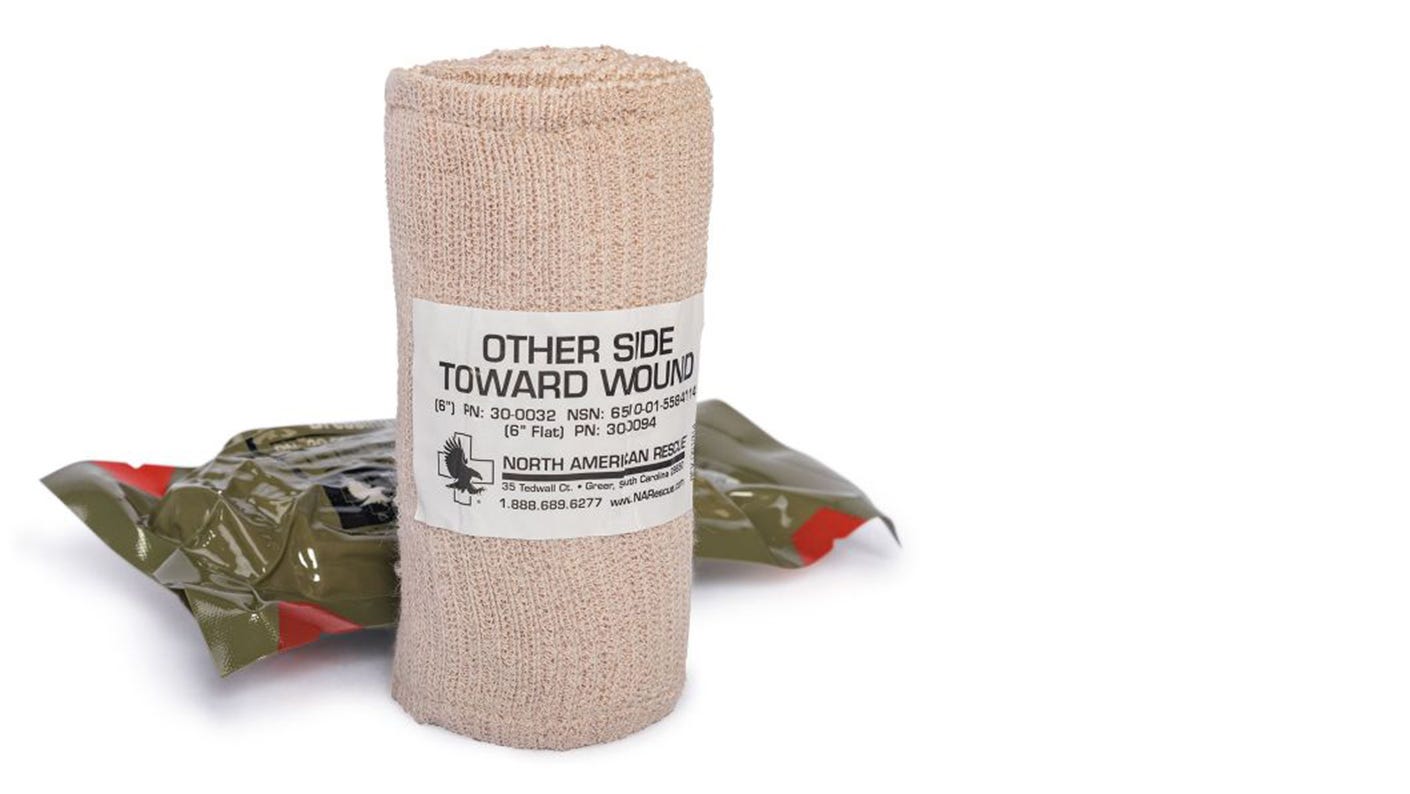
1) Pressure dressing – For milder bleeding a pressure dressing may be all that is necessary. Check the wound, apply direct pressure with the gauze portion, and wrap around the extremity maintaining firm pressure. Continue to evaluate to see if the wound is “bleeding through” the dressing. If “bleed through” occurs, it is time to upgrade (see below).
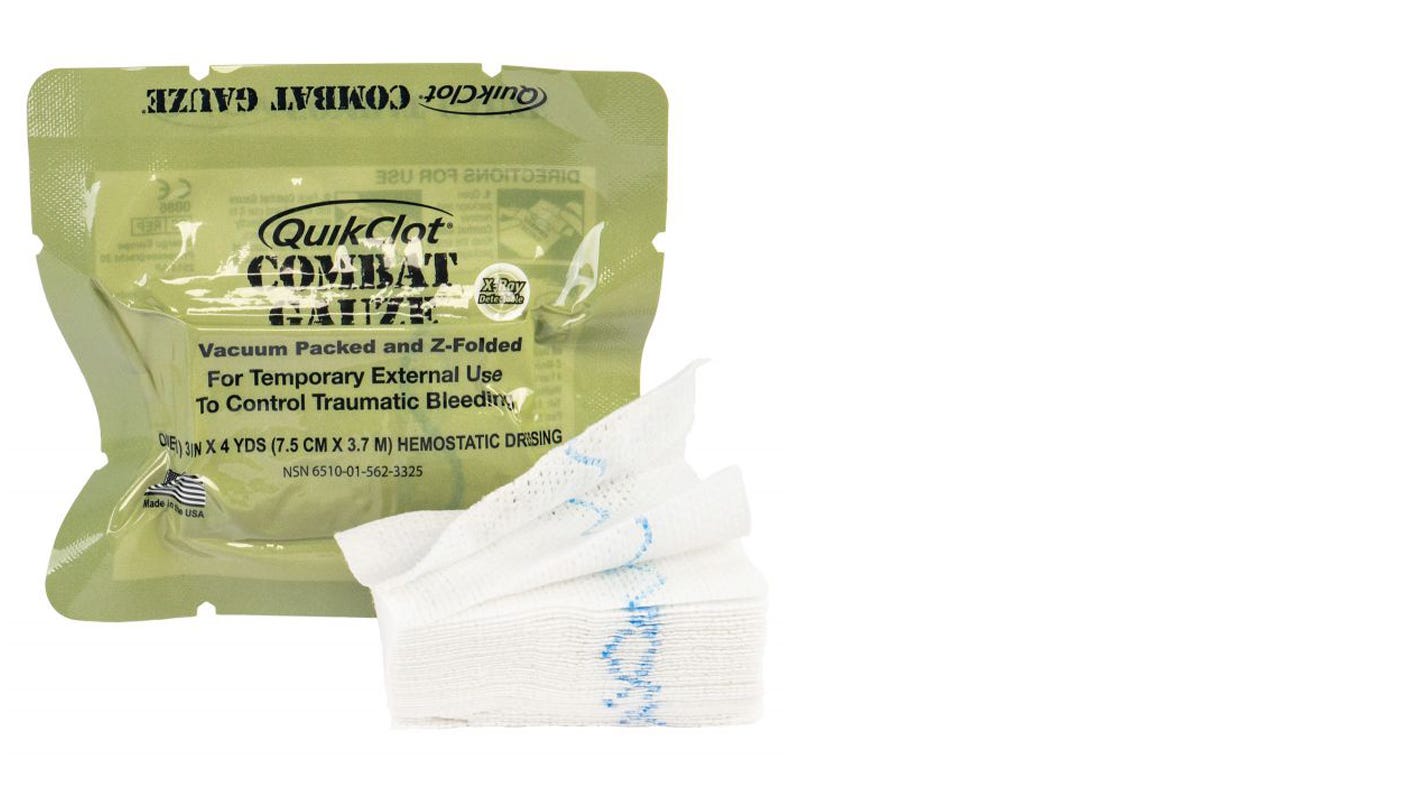
2) Hemostatic – Hemostatic dressings are gauze impregnated with a substance designed to help your body form a clot at the site of bleeding. Hemostatic gauze must be applied directly to the blood vessel that is bleeding. Hemostatic gauze can be effective for wounds where a tourniquet can’t be applied (junctional), or extremity wounds with arterial or venous bleeding. The key to successful wound packing is to aggressively pack the wound deep. Remember, you are trying to get to the artery (which typically run deep along the nearby bone) so pack deep and fill the wound. If additional gauze is needed, you can use plain packing gauze to fill the rest of the wound. Keep continuous pressure (minimum of 3 minutes) and DON’T LET UP at any point in packing. Apply a pressure dressing over it and evacuate quickly.
3) Tourniquet (TQ) – For major bleeding of an extremity (arms or legs), nothing beats a proper TQ. “Improvised” tourniquets have been proven over and over to not work as well as a dedicated tourniquet, so make sure you use a dedicated commercial TQ (approved by the Committee on Tactical Combat Casualty Care). The go-to of the US military is the CAT (pictured below), which has thousands of successful uses in austere environments. Be careful where you purchase it from, there are a lot of fakes out there (remember, your life is on the line).

It used to be taught that a TQ will always result in an amputation and losing the limb, but we know this is not true. The TQ has been shown to have saved numerous lives in combat without loss of limb from its use. For major bleeding that can’t be controlled with direct pressure, a TQ is the gold standard. With a little training, you can learn to apply a TQ in seconds.
- Place the TQ a minimum of 2-3 inches above the wound/source of bleeding. Do not place directly over a joint.
- If in danger (continued gunfire, animal attack, etc..) place the TQ as high up the extremity as possible.
- Pull the band tight and secure the Velcro portion to itself.
- Tighten the windlass until bleeding stops (note: they should no longer have a pulse below the wound).
- You may need a second TQ for application to the thigh. If you do, place a second TQ immediately above the last.
- Secure the windlass and mark the time.
- Evacuate the patient as quickly as possible. The goal is less than 2 hours, but typically you have up to 6 hours before permanent damage occurs.
Resources: Get the proper training by attending a Bleeding Control course. Check out resources like Stop the Bleed Campaign and the National Association of Emergency Medical Technicians for training opportunities. Check out deployedmedicine.com for the DoDs standard on combat casualty care.
Check out our podcast on in-the field care to learn more.
BIO
@nardoctor
@nardoctor is a physician who focuses on prehospital medicine in austere environments (deployed in military setting and out in the wilderness). For more information you can follow on instagram @nardoctor for more practical prehospital medical posts. For more information on products mentioned, go to narescue.com.
It’s our hope you can learn and laugh along with the expert voices we feature on this blog. We want to be clear that the opinions you see featured here are just that: opinions. The content belongs to the authors and is not necessarily the opinion of Vortex Optics.
To learn more about what you’ve read, please like, follow, and otherwise support our authors.


