Thinking of putting a red dot on your turkey gun? Do it.
Optics on turkey guns are becoming more and more popular, for the same advantages they provide tactical and competitive shooters: Easier sight alignment, faster target acquisition, and the ability to focus on your target while shooting. If you’re thinking about mounting an optic on your shotgun for this year’s hunt, here’s a few tips to get you started.
Optic selection
In our opinion, a red dot is perfect on a turkey shotgun. They are durable, offer a good field of view, and at realistic turkey shooting distances, there generally isn’t a need for magnification.
We prefer an optic that sits as low on the gun as possible so we can maintain a solid cheek weld on our gun. We’ve added a soft neoprene cheekpad to our stock as well. You’ll want an optic with a broad range of brightness levels so you can start with your dot dim at first light, but be able to crank it up when the sun is beating down. When you’re hunting, be sure to adjust the brightness of your optic periodically to match the conditions so you’re ready to go when a Tom pays you a visit.
Take a look through your optic on different parts of the rail. Positioning the optic forward or backward will change how much you can see through the optic and what you can see around it.
If you’re one of those people who refuses to put a red dot on your shotgun because the dot doesn’t look perfectly round to you (a phenomenon resulting from an astigmatism) – stop for a minute and think this through. You are shooting a gun that throws a spread of hundreds of pellets downrange. You do not need a perfectly round circle to do that. So long as you can put any part of the red squiggle you see somewhere on the bird’s neck, you’ll have no problem killing every single turkey you shoot at. (Want to know more about astigmatism? Check out this 10 Minute Talk.)
Mounting the optic
The easiest way to mount a red dot is via a picatinny (or weaver) rail attached to your shotgun. Modern turkey shotguns will come with a rail, or at least a tapped receiver where you can mount one. If a top rail isn’t an option with your receiver, there are various mounts available that attach to a receiver using the trigger housing pins, or can be secured between the stock and the receiver itself.
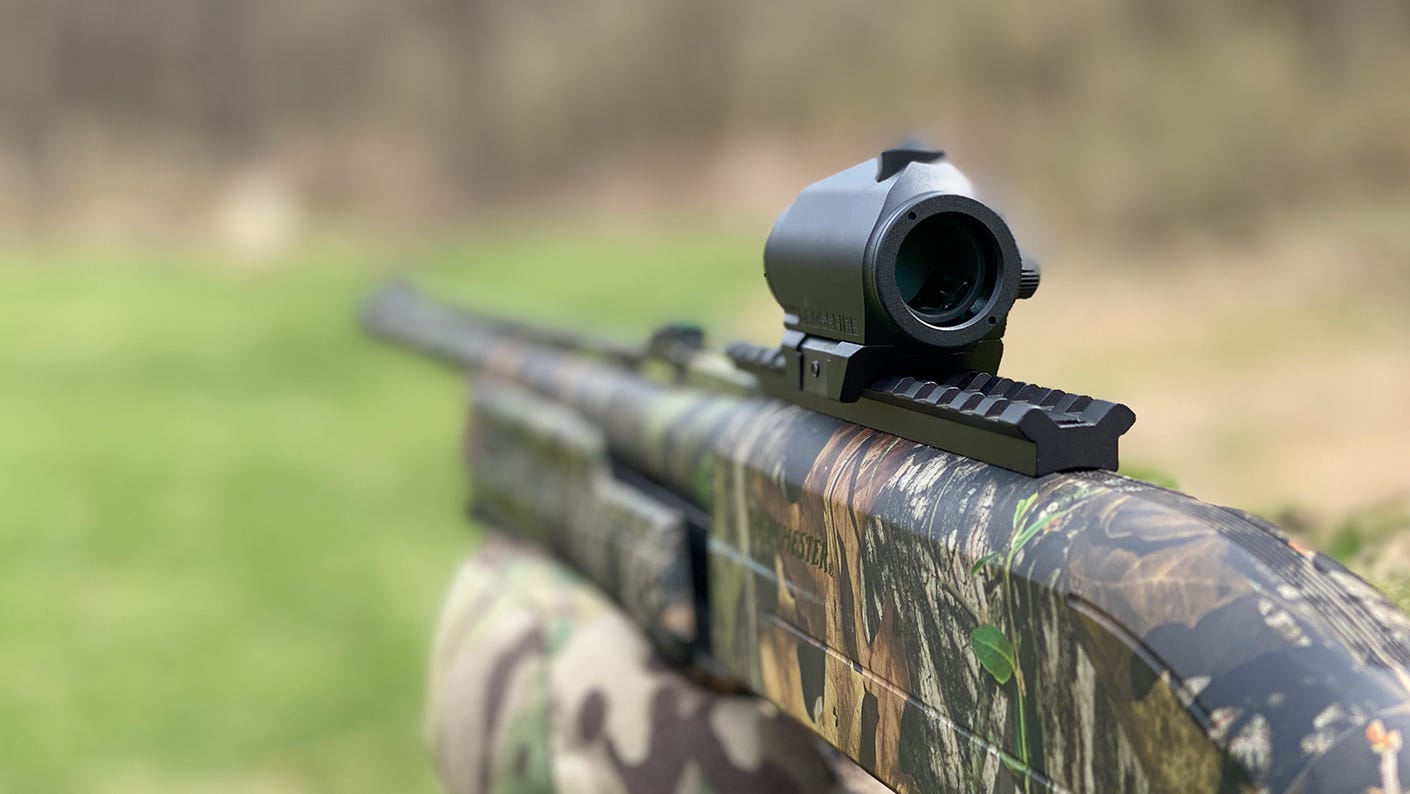
Simple and very effective, a weaver or picatinny rail makes the perfect platform for your dot, but there are plenty of other ways to get it mounted.
Don’t just haphazardly throw your optic on top of your gun. Experiment with its position on the gun and see how it looks. Red dots have unlimited eye relief, so where you mount it is a matter of personal preference. Further forward will provide less field of view looking through the optic, but will allow you to see around it more easily. Moving the optic closer to your eye will provide a wider apparent field of view looking through the optic, but may make it harder for you to see what’s going on around it.
Zeroing the optic
Usually we talk about “patterning” a turkey shotgun, but with a red dot, we actually have to zero it. You’ll want a large piece of paper with a center aiming point. I like to start at about 20 yards, using pheasant loads to get started. This will save both your shoulder and your wallet some discomfort as you get the optic dialed in.
Find the approximate center of your pattern and adjust the optic the same way you would were it on a rifle to roughly center your pattern on your target. It will be helpful to use a clean sheet of paper for every shot. At 20 yards you will need to move your dials 5x as far as you would at 100 yards. So – if your optic has 1 MOA clicks, it will take 5 clicks to move your pattern one inch.
Switch to your preferred turkey load now to fine tune and confirm your zero. We like to do this at 40 yards. At this distance, it will take about twice as much dial movement to adjust your optic as it would at 100 yards (1 MOA clicks mean roughly 2 clicks per inch). Pay attention to both the shot density and the center of your pattern. Your pattern is dictated by your gun, choke and load. Ideally, the densest part of your pattern should also be at the center of your pattern (or very close). If it’s slightly off center and consistent, zero based on the densest part of your pattern. If it is way off, you may want to look at different loads or another choke. (For a closer look at picking shells for your shotgun, check out this podcast.)

Make sure and test your zero at multiple ranges before hitting the woods.
Once you feel you have a solid zero at 40 yards, we highly recommend checking as far as you may shoot and also at a closer distance as well (with our current setup we check at 20 and 60 yards). You may find at these distances you have to adjust your point of aim slightly higher or lower.
Hunting with the optic
This is the fun part – just get out there and hunt! The first time you put that dot on a tom’s head, you’ll realize how nice it is to be sure exactly where your shot is going to go before you let the lead fly.
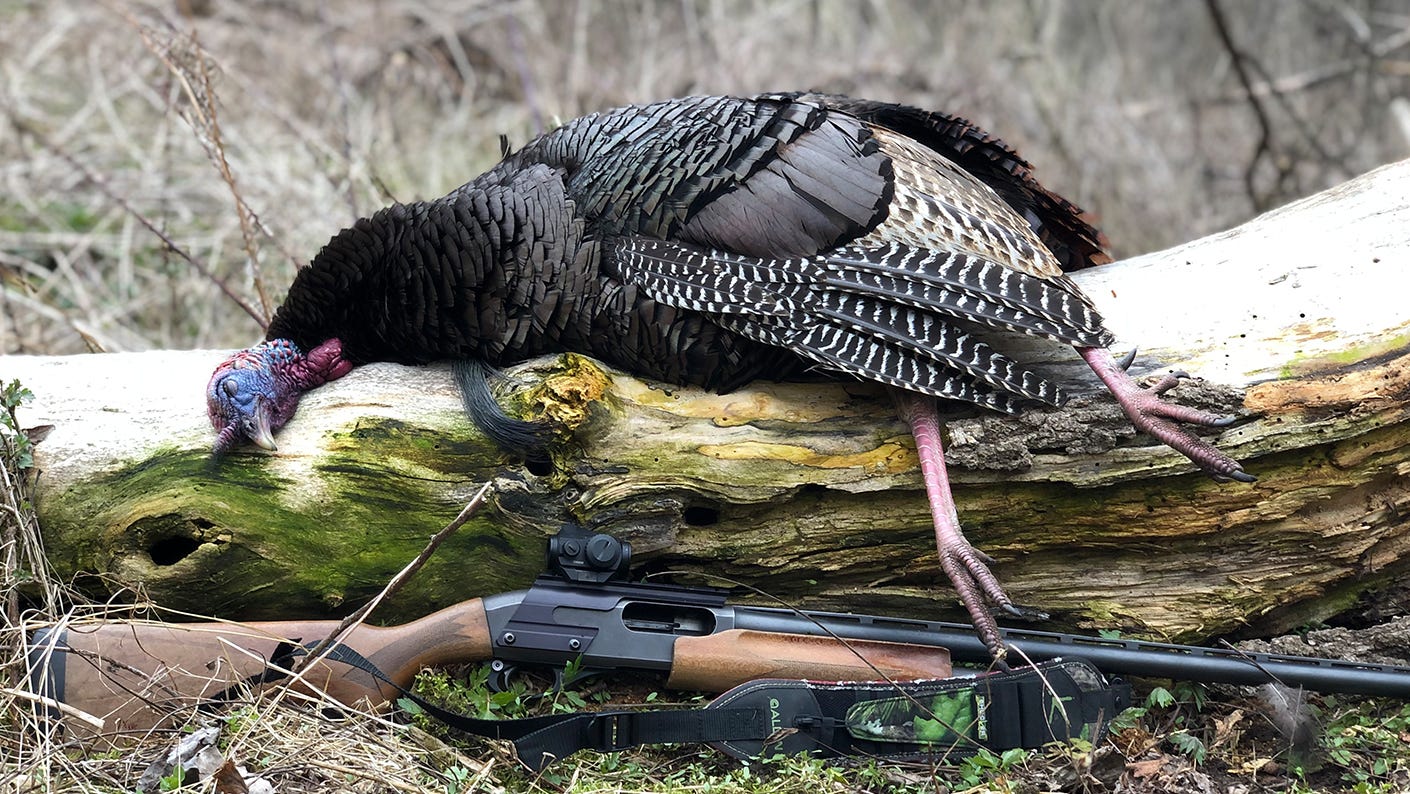
Once you knock down your first tom with a red dot, you’ll wonder why you waited so long get one.
Want to hear more about putting a red dot on your turkey gun? Listen in as our podcast team takes a deep dive. Looking for some tips on hunting pressured birds? Read this blog to put a tom over your shoulder this year.
It’s our hope you can learn and laugh along with the expert voices we feature on this blog. We want to be clear that the opinions you see featured here are just that: opinions. The content belongs to the authors and is not necessarily the opinion of Vortex Optics.
To learn more about what you’ve read, please like, follow, and otherwise support our authors.


